HTML
Styling
Cycling
Maintenance
Bike Maintenance
DIY Repair
Vehicle Operation
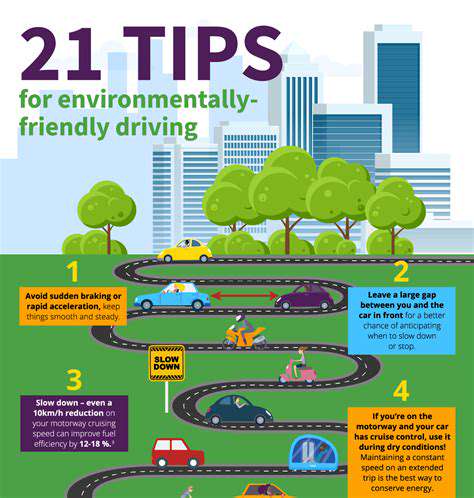
Driving Techniques
Tool Selection
Safety
踏板更换:刹车、离合器和油门
逐步概述
准备更换
在更换自行车踏板之前,收集所有必要的工具至关重要
选择合适的踏板组件
了解踏板功能
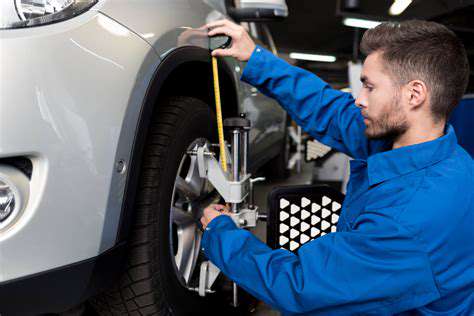
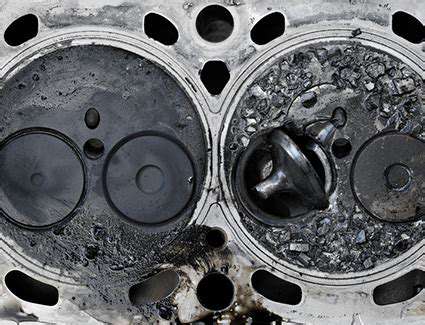
功能正常的踏板组件对于安全有效的车辆操作至关重要。了解制动踏板、离合器踏板等各个组件的作用...
安全注意事项
合适的工具选择
更换踏板组件时,选择合适的工具对于安全和成功的维修至关重要。使用错误的工具可能会损坏踏板组件,
Read more about 踏板更换:刹车、离合器和油门
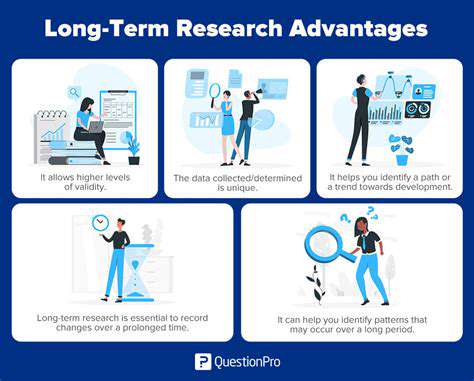
理解早期检测的重要性发现早期检测在机械维护、医疗保健和技术中的关键作用。 本综合指南强调了及时识别症状以防止并发症和节省时间和金钱的好处。 了解增强主动问题解决的基本监测系统的必要性,定期维护的重要性,以及对已识别症状的及时处理如何带来经济优势。 发现需要注意的常见警告信号和培养警惕文化的长期好处。 探索有效的预防性维护策略,以提高安全性和合规性,同时与服务提供商建立长期关系。 今天就改变您对维护和运营效率的看法!
Dec 10, 2024

早期泄漏检测:重要性、技术和应急准备。
元描述:了解早期泄漏检测的重要性,探索先进技术、定期维护实践和有效的应急准备策略,以防止水损害、霉菌生长和资源浪费。确保结构和居民的安全,同时保护环境。
--- 概述
早期泄漏检测对于防止对财产和健康风险造成重大损害至关重要,尤其是在住宅和工业环境中。理解泄漏的后果,利用先进技术,并保持强有力的预防措施,能显著降低风险和成本。
关键部分:
- 早期泄漏检测的重要性:了解未检查泄漏的后果,包括对结构的损害、霉菌风险和资源浪费。
- 早期泄漏检测的技术解决方案:探索智能水表、声学传感器和红外热成像等创新工具,以快速有效地识别泄漏。
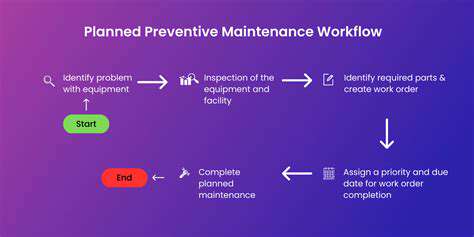
- 定期维护和检查:了解例行检查和主动维护的重要性,以在泄漏升级之前发现并解决问题。
- 教育房主和建筑居民:赋予个人泄漏迹象的知识及及时报告的重要性,以促进泄漏预防的勤勉文化。
- 早期泄漏识别技术:利用先进工具和培训,提高泄漏检测工作,制定有效的检查例行程序。
- 应急准备和响应:建立全面的计划和培训项目,以确保在泄漏紧急情况下迅速采取行动。
通过优先考虑早期泄漏检测和管理,物业所有者可以保护他们的投资,确保居民的安全,并为环境可持续性做出贡献。
Dec 31, 2024

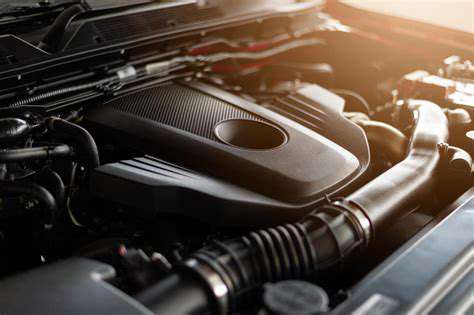
如果你的车辆制动时间变长或感觉响应迟钝,可能需要升级制动系统。
- 载荷或性能提升:例如拖曳更重的载荷或升级到更高性能的发动机,都会对制动系统产生影响。
May 02, 2025