HTML
Styling
Construction
Maintenance
Surface Preparation
Paint Care
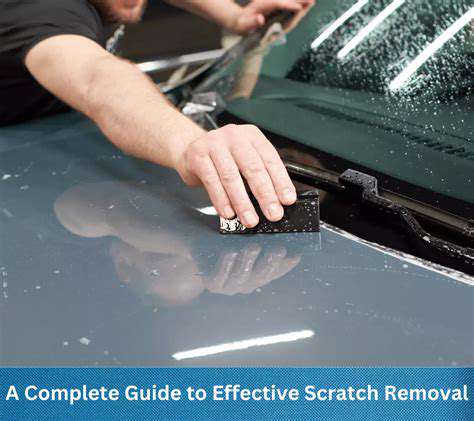
スクラッチ除去剤:軽微な塗装の欠陥
軽微なものから重大なものまで
塗装の傷は、軽微な傷から重大な損傷まであり、それぞれ修復方法が異なります。軽い傷は、傷を目立たなくするために、対応する塗料で軽く修正するだけで済みます。これらの修理は、最小限の工具と時間で実行でき、損傷を迅速に対応できます。
効果的なキズ取りのための表面準備
表面処理:重要な第一歩
傷消し剤の使用方法:ステップバイステップガイド
表面の準備
車の塗装面を傷んでいる部分を含め、徹底的に清掃します。 このステップは、傷消し剤の効果を最大限に発揮するために非常に重要です。
Read more about スクラッチ除去剤:軽微な塗装の欠陥
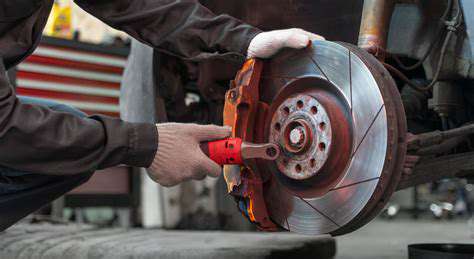
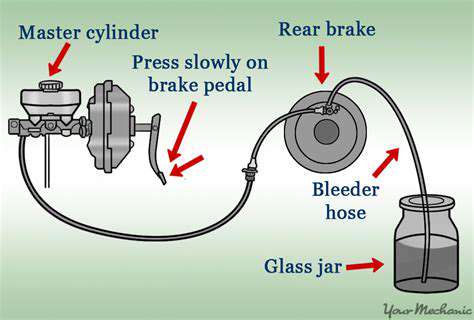
定期的な点検と整備は不可欠です。車両のアンチロックブレーキシステム(ABS)の維持は、安全と性能に非常に重要です。ABSの動作原理を理解し、定期的なメンテナンスを行うことで事故を予防できます。
Apr 30, 2025