Substituição do Motor de Arranque: Quando o Seu Carro Não Liga
Understanding Starter Motor Function
The starter motor is a crucial component of your vehicle's electrical system, responsible for cranking the engine. It's an electromechanical device that converts electrical energy into rotational energy, turning the engine's flywheel to initiate the combustion process. A malfunctioning starter motor can leave you stranded, making its replacement a vital aspect of vehicle maintenance.
Understanding its role in the overall system is important. A properly functioning starter motor ensures smooth engine starts and avoids premature wear on other components. Failure to recognize the symptoms of a failing starter could lead to more significant and costly repairs in the future.
Identifying Starter Motor Problems
Recognizing the signs of a failing starter motor is key to timely intervention. Common symptoms include a grinding or clicking sound when attempting to start the vehicle, a slow or sluggish cranking action, or complete failure to crank at all. These symptoms can sometimes be mistaken for other issues, so careful observation is crucial.
In addition to these common symptoms, you might notice a clicking sound that doesn't progress into the engine turning over. This is often a sign of a weak or faulty starter motor. Pay attention to these subtle clues to determine if starter motor replacement is necessary.
Gathering Necessary Tools and Parts
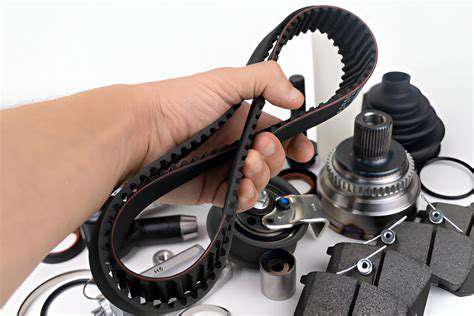
Before diving into the replacement process, ensure you have the necessary tools and parts readily available. A comprehensive toolkit should include a wrench set, sockets, screwdrivers, pliers, and possibly a torque wrench depending on the specific vehicle. Additionally, you'll need to acquire a new starter motor compatible with your vehicle model. Thorough preparation is vital for a smooth and efficient replacement.
Disconnecting the Battery and Safety Precautions
Safety is paramount during any vehicle repair. Before starting any work, disconnect the negative terminal of the battery. This precaution is critical to prevent electrical shocks and accidental short circuits. Always follow proper safety procedures and handle electrical components carefully.
Grounding yourself is also a crucial safety measure. Touching metal parts of the vehicle while working with electrical components can be dangerous. Make sure you are adequately grounded before handling any electrical connections or components.
Removing the Old Starter Motor
Carefully remove the old starter motor, following the specific procedures outlined in your vehicle's repair manual. This typically involves disconnecting various wires, removing mounting bolts, and carefully detaching the starter from the engine block. Thorough documentation and precise steps are crucial to avoid damaging other components during the removal process.
Installing the New Starter Motor
Precisely install the new starter motor, ensuring all connections are secure. Double-check the alignment and torque specifications for each mounting bolt to prevent future issues. Refer to your vehicle's repair manual for detailed instructions on the installation process.
Testing the New Starter Motor
After installing the new starter motor, thoroughly test its functionality. Attempt to start the vehicle and verify that the engine cranks smoothly and reliably. Proper function confirms a successful replacement and ensures the engine starts without issues. This final step is essential for confirming a successful repair.
Testing the New Starter Motor
Initial Inspection and Visual Assessment
Before diving into a full starter motor replacement, a thorough visual inspection is crucial. Look for any obvious signs of damage, such as melted wires, bent or broken components, or excessive corrosion on the starter motor itself. This initial assessment can save you time and effort by identifying easily fixable issues early on, and will help you determine if the problem is indeed the starter motor or something else entirely, like a faulty battery or a bad connection.
Examine the wiring harness connected to the starter motor for any frayed or damaged wires. Look closely for signs of overheating, which can indicate a short circuit or other electrical problems that might be affecting the starter motor's performance. A visual inspection is a quick, low-cost step to narrow down the potential causes of the no-start issue.
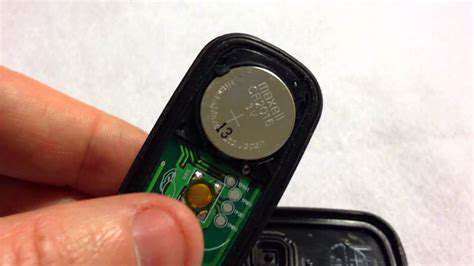
Battery and Electrical System Check
A weak or failing battery can manifest as a no-start condition, even if the starter motor is perfectly functional. Check the battery's voltage using a multimeter or a dedicated battery tester. A low voltage reading could be the root cause of the issue. Also, ensure all connections in the electrical system, including the battery terminals and the wiring leading to the starter motor, are clean and tight. Corroded or loose connections can prevent sufficient current flow, hindering the starter motor's ability to engage.
Starter Motor Engagement Testing
With the car in neutral (or park for automatic transmissions) and the parking brake engaged, attempt to crank the engine. Listen carefully to the sound of the starter motor. A weak or sputtering sound might indicate a problem with the motor itself or the electrical system supplying it. A completely silent starter motor suggests a severe electrical problem, potentially indicating a faulty solenoid or a complete interruption in the power supply.
Starter Solenoid Inspection
The starter solenoid is an essential component that controls the engagement of the starter motor. Inspect the solenoid for any visible damage, such as corrosion, or unusual noises. The solenoid's function can be assessed by checking for a click or a distinct engagement sound when the ignition key is turned. If no sound is heard, the solenoid might be the culprit. If you hear a click but the starter doesn't engage, it could point to problems with the starter motor's internal components.
Starter Motor Removal Procedure
Carefully follow the vehicle's specific service manual for the correct procedure to remove the starter motor. This is crucial for avoiding damage to the surrounding components. Disconnect the negative terminal of the battery before starting any work on the starter motor to prevent accidental short circuits or electrical shocks. Document the location and position of all components and wires to ensure a precise reinstallation process. Remove any obstructions and ensure the area is well-lit for clear visibility.
Starter Motor Replacement and Reinstallation
Once the old starter motor is removed, carefully inspect the mounting points and ensure they're clean and secure. Install the new starter motor, ensuring all connections are properly tightened and secured according to the manufacturer's specifications. Reconnect the battery terminals and check for any loose or damaged wires. Start the vehicle and test the starter motor to ensure it's functioning correctly. If the issue persists, review your work for errors in the installation process and consult the vehicle's service manual for further guidance.
Read more about Substituição do Motor de Arranque: Quando o Seu Carro Não Liga