HTML
Styling
Cycling
Maintenance
Bike Maintenance
DIY Repair
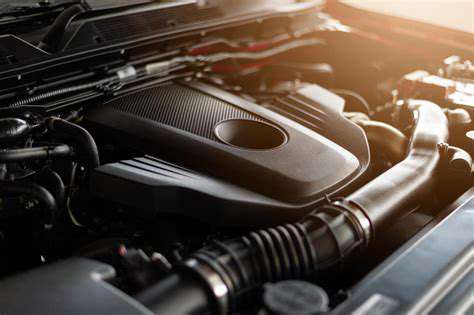
Vehicle Operation
Driving Techniques
Tool Selection
Safety
踏板更換:煞車、離合器和油門
逐步概述
準備更換
在您開始更換自行車踏板之前,收集所有必要工具至關重要
選擇正確的踏板組件
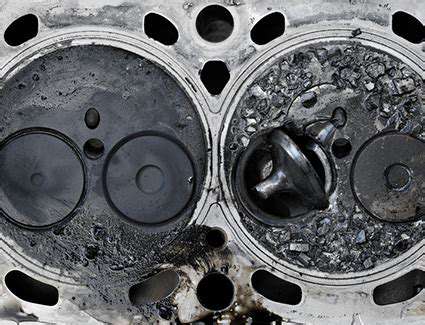
了解踏板功能
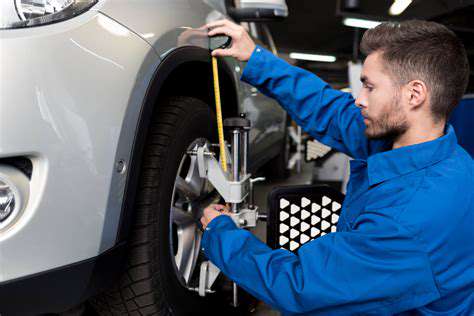
運作良好的踏板組件對於安全且有效的車輛操作至關重要。了解煞車、油門等各個踏板的角色...
安全預防措施
正確工具選擇
更換踏板組件時,選擇正確的工具對於安全且成功的維修至關重要。使用錯誤的工具可能會損壞踏板組件,
Read more about 踏板更換:煞車、離合器和油門
了解早期檢測的重要性,發現早期檢測在機械維護、醫療保健和技術中的關鍵角色。這本綜合指南強調了及時識別症狀以防止併發症並節省時間和金錢的好處。了解增強主動問題解決的基本監測系統的必要性、定期維護的重要性,以及對已識別症狀的及時行動如何帶來經濟優勢。揭示需要注意的常見警告信號和培養警覺文化的長期好處。探索提高安全性與合規性的有效預防性維護策略,同時與服務提供商建立長期關係。今天就來改變您對維護和運營效率的看法!
Dec 10, 2024
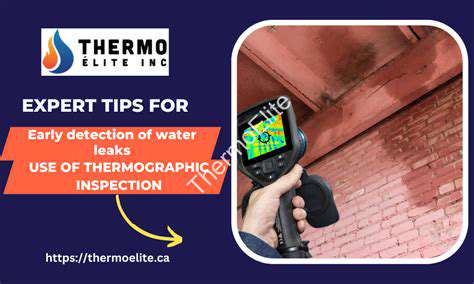
早期漏水檢測:重要性、技術和應急準備。
元描述:了解早期漏水檢測的重要性,探索先進技術、定期維護實踐和有效的應急準備策略,以防止水損害、霉菌生長和資源浪費。確保結構和居民的安全,同時保護環境。
--- 概述
早期漏水檢測對於防止對財產和健康風險造成重大損害至關重要,尤其是在住宅和工業環境中。理解漏水的後果,利用先進技術,並保持強有力的預防措施,能顯著降低風險和成本。
關鍵部分:
- 早期漏水檢測的重要性:了解未檢查漏水的後果,包括對結構的損害、霉菌風險和資源浪費。
- 早期漏水檢測的技術解決方案:探索智能水錶、聲學傳感器和紅外熱成像等創新工具,以快速有效地識別漏水。
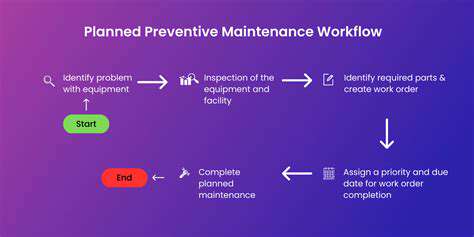
- 定期維護和檢查:了解例行檢查和主動維護的重要性,以在漏水升級之前發現並解決問題。
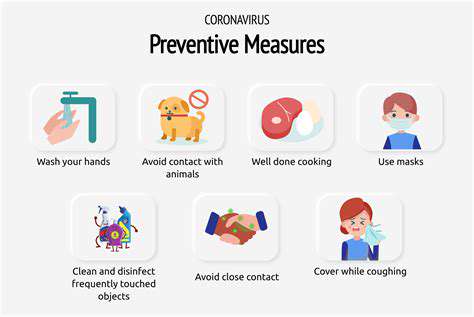
- 教育房主和建築居民:賦予個人漏水跡象的知識及及時報告的重要性,以促進漏水預防的勤勉文化。
- 早期漏水識別技術:利用先進工具和培訓,提高漏水檢測工作,制定有效的檢查例行程序。
- 應急準備和響應:建立全面的計劃和培訓項目,以確保在漏水緊急情況下迅速採取行動。
通過優先考慮早期漏水檢測和管理,物業所有者可以保護他們的投資,確保居民的安全,並為環境可持續性做出貢獻。
Dec 31, 2024

如果您的車輛煞車時間變長或感覺反應遲鈍,可能需要升級制動系統。
- 載荷或性能提升:例如拖曳更重的載荷或升級到更高性能的引擎,都會對制動系統產生影響。
May 02, 2025