HTML
Styling
CSS
Vehicle Repair
Damage Assessment
Repair Strategy
Surface Preparation
Refinishing
バンパー修理:軽微な衝突の修復
子どもの部屋を安全で創造的な遊び場にするために、子どもの部屋の整理整頓と多用途の空間を創造するヒントは重要です。お子様の安全と幸福を確保するためには、積極的に対策を行う必要があります。
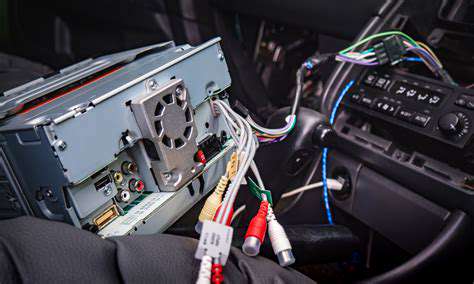
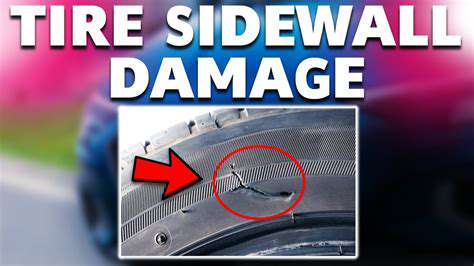
分離または破損したクリップとファスナーの修理
損傷の特定
損傷の程度を評価することは、効果的な修理にとって重要です。分離または破損したクリップとファスナーを注意深く観察し、具体的な種類に注目してください。
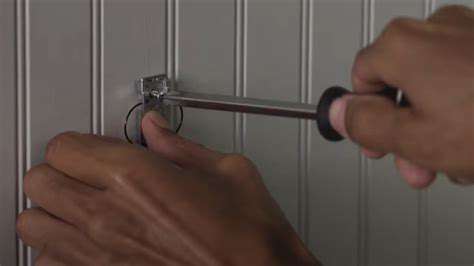
仕上げの仕上げ:磨きと再塗装
再塗装のための表面の準備
再塗装プロセスを開始する前に、損傷した箇所の徹底的な準備が不可欠です。これは、影響を受けた部分を綿密に清掃することを含みます。
Read more about バンパー修理:軽微な衝突の修復
車両の停止時間が長くなったり、レスポンスが鈍くなったりする場合、ブレーキシステムのアップグレードが必要となるかもしれません。
- 車両積載量または性能向上:より重い荷物を牽引したり、より強力なエンジンにアップグレードしたりするなどの変更は、ブレーキシステムに影響を与えます。
May 02, 2025