Installing a Car Stereo Head Unit

Disconnecting the Old Head Unit and Removing the Panel
Disconnecting the Old Head Unit
When removing an outdated car stereo, the first critical step is cutting power to the system. Many enthusiasts overlook this safety measure, but failing to disconnect the battery can lead to fried circuits or even electrical fires. The process varies by vehicle - some require disconnecting at the fuse box, while others need battery terminal removal. Always consult your vehicle's manual for the proper procedure.
Removing the Panel Cover
Dashboard panels secure differently across makes and models. Some use obvious screws, while others hide clips behind trim pieces. Using excessive force can snap plastic tabs, leaving you with expensive repairs. For stubborn panels, a nylon trim tool works better than metal implements that might scratch surfaces. The satisfying pop when clips release properly signals you're doing it right.
Accessing the Wiring and Connections
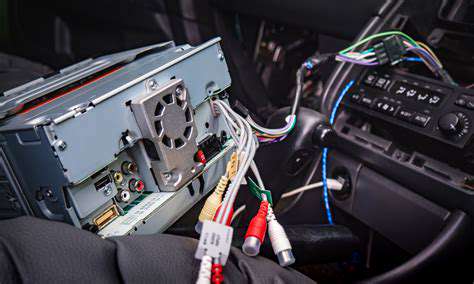
Behind the panel lies a spaghetti-like tangle of wires that can intimidate beginners. Take time to study the layout before touching anything. Modern vehicles often bundle wires with color-coded tape or tags. If yours doesn't, creating your own labeling system prevents installation headaches later.
Disconnecting the Wiring Harness
Factory harnesses typically use plastic connectors that release with a tab squeeze. Some require depressing a locking mechanism first. Never yank wires directly - you risk breaking connector tabs or pulling wires from their terminals. If connectors won't budge, check for hidden secondary locks before applying more pressure.
Removing the Old Head Unit
Head units mount using various methods - some slide out with special keys, others need bracket removal. European cars often use proprietary tools. Attempting removal without proper tools frequently damages the dashboard or unit itself. When in doubt, search for model-specific removal videos before proceeding.
Preparing for the New Head Unit Installation
This quiet moment before installation is perfect for verifying everything. Check that your new unit's dimensions match the opening, and that you have all necessary adapters. Discovering missing parts after disassembly leaves your car undriveable. Test fit the mounting cage or brackets before continuing.
Installing the New Head Unit and Connecting Wires
Installation Preparation
A well-organized workspace separates successful installs from disasters. Magnetic trays keep screws from disappearing into dashboard voids, while labeled bags prevent confusion between old and new hardware. Having a multimeter handy helps verify power and ground connections before energizing the system.
Manufacturer guides often contain model-specific quirks. For example, some units require connecting the parking brake wire for video playback. Skipping these details can leave you with a unit that doesn't function fully.
Wiring and Connections
Modern wiring harnesses use standardized colors, but always verify with a multimeter. Assuming wire colors match between vehicles and aftermarket units is a common rookie mistake. For permanent installations, soldering and heat shrink provide more reliable connections than crimp connectors.
Grounding issues cause most electrical gremlins. Finding a solid metal ground point makes the difference between clear audio and annoying alternator whine. Scrape paint from grounding points and use star washers for solid contact.
Testing and Finalization
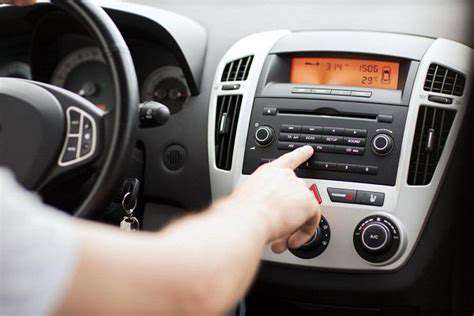
Initial power-up should happen with the unit loose enough to quickly disconnect if problems arise. Smoke or strange odors mean immediate shutdown is necessary. Test all functions systematically - don't just check if it turns on.
Final assembly requires patience. Rushing to snap panels back often results in broken clips or misaligned components. Ensure all wiring has slack and won't get pinched when reinstalling trim pieces.
Read more about Installing a Car Stereo Head Unit